|
Once you are familiar with the basic steps for attaching images to your specs (and the reasons behind the procedure), you will find that you can save a lot of time using the Specification List screen's Auto-Image utility. This utility will attach all the images in a folder to the matching specs in one batch operation. To do this, you need to satisfy the prerequisites (noted below) from the manual procedure for attaching an image to a single spec.
Also note that all BMP and TIF files will be automatically converted to JPEG format when they are copied or moved to the image library. If you wish to retain your original image files for other purposes, be sure to not select the "Move" option.
If you have specifications for which you wish to use a generic image instead of a specific manufacturer's image (e.g., a standard window treatment), don't use the Auto-image utility. Instead, attach these manually and use the Select from Image Library option. If you are attaching such an image for the first time (before it is added to the library), develop a manual, generic naming system to use for these images so they are easy to find.
Procedure:
- Check your spec IDs for certain symbols. If you are using unusual symbols in the Spec ID, Vendor ID or Catalog/Model # formats, you should be aware that some symbols are illegal in file names:
\ / : * ? " < > |
If your Spec ID has any of these in it, FF&EZ will search for image files after substituting a generic underscore character (or a "!" for the "|"). You may have to attach images for these specs manually, unless you save them with the exact pattern of substitution used by FF&EZ. The best symbols to use in spec IDs are the dash and dot ("-" and ".") or a space.
- Make sure that all specs for which you want to attach images have the Vendor ID assigned and a Catalog/Model # entered (or contain one of the key words or phrases shown at the end of this page that you can use with a "no model #" or custom product).
If you cannot supply a legitimate, unique model number, you must use a key word or phrase as mentioned above. Do not attempt to use this procedure on multiple specs with an empty catalog # or where that field contains the same "placeholder" (such as a "*" by itself) in more than one spec from the same vendor. Specs such as these must be processed manually with the Attach command on the Specification screen, otherwise the same image will be attached to all of them.
- Scan, save, move and/or download your images to a temporary project folder, using the appropriate Spec ID as their file names (e.g., "CHR-001.JPG") For this utility, the file name (to the left of the last ".") must match the FF&EZ Spec ID exactly, but is not case-sensitive. Note that a "Temporary images" folder is automatically created for each new project beneath the "FF&EZ-Import" folder in your personal documents folder. Important: If you save images from a web site, do not attempt to change their format by changing the file extension. As of this writing, web browsers do not have this capability.
FF&EZ does not recognize the "WEBP" and "HEIC" formats. These and other non-supported images must be opened with a photo editor and saved as a supported format: GIF, BMP, TIFF, JPEG or PNG.
- On the FF&EZ Specifications List screen, select the Utilities function, then the Auto-image command and follow the on-screen instructions.
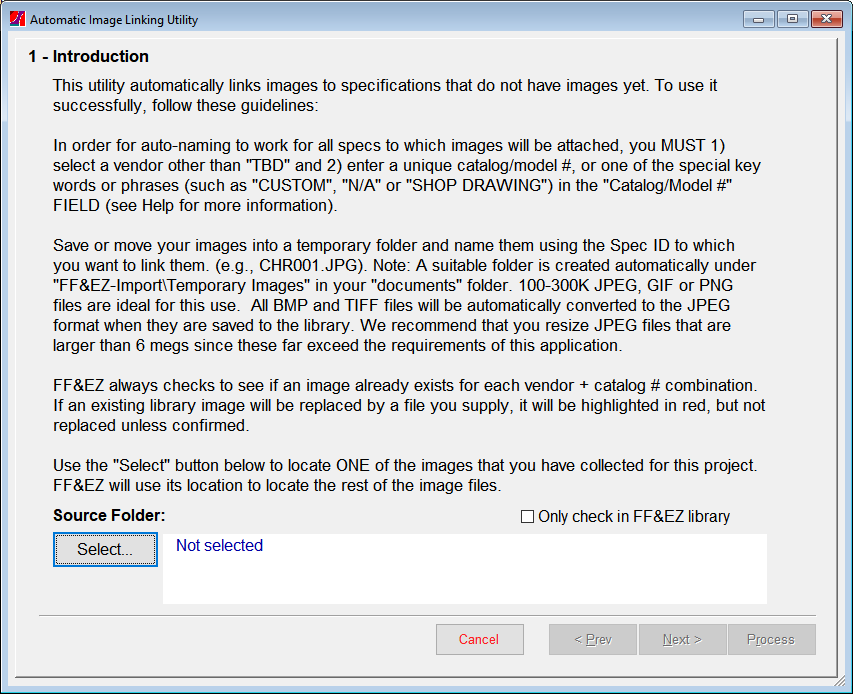
- Show the utility where your images are by selecting the folder containing them with the Select button. Note that the utility automatically points first to the special project folder under "Documents\FF&EZ-Import\Temporary Images." In the sample below, the user is working on the project DEMO-PM, which was automatically highlighted in the folder list.

- After a folder is selected, click on Next.
- Review all the specifications and their potential image matches. FF&EZ allows you to compare the images it finds against both the specs without images and the existing images that might already match those specs (based on the vendor and model number).
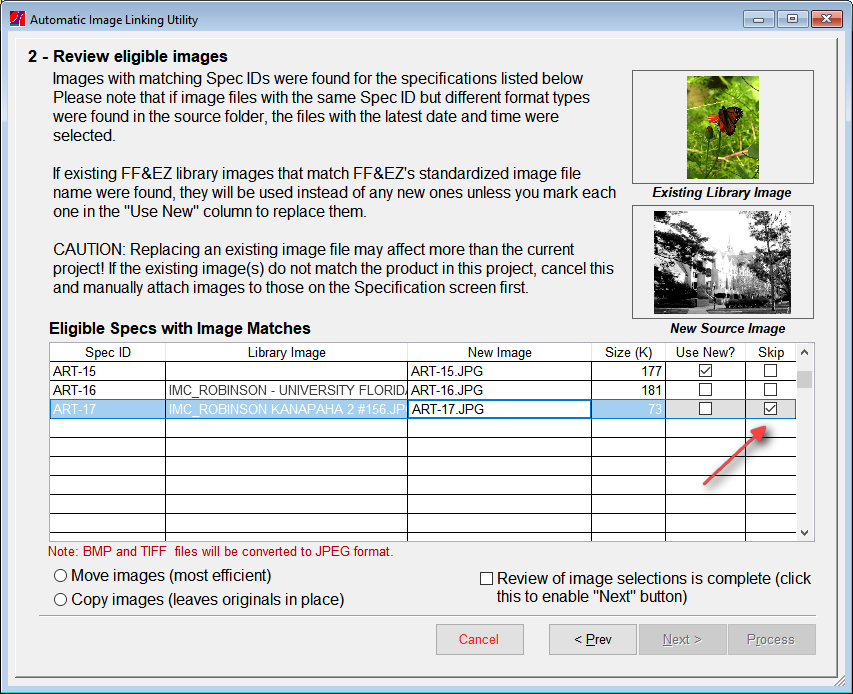
- In most cases, you will see a list of specifications and entries in the "New Image" column with a check in the "Use New? column for each spec. The first line (ART-15) in the sample image above is typical.
- If an existing image in the image library matches the vendor and catalog combination, it will not be replaced unless you override it with the "Use New?" checkbox on that row. The second line in the sample (ART-16) shows this. You can compare the two images by clicking on that line. Any existing library images will be displayed in the upper right corner after you click. If a matching "new" image has also been located, it will be displayed below the existing one for comparison. Note: The utility will locate a matching library image even if no new image has been supplied.
- If you select "Use New?" for a specification with a library image match, the library image will be replaced. Important: Be sure this is what you want, because the library image may be in use by at least one specification in another project (see next).
- If an existing library image is found but it is not appropriate and you need to use the new image without replacing the library image, use the "Skip" column checkbox to have the utility skip this spec (that is, not process it). The red arrow above points to a spec with this issue—the existing and new images above are obviously different. You can manually attach an image to that spec later, after entering a different file name for its image library entry.
- To help conserve disk space for space-hungry image files, if an image is of a larger than needed resolution, the "Size" column (measured in kilobytes) will be color-coded in red. FF&EZ will accept larger than normal file sizes, but will warn when these are used. If you wish, use the "Skip" column to prevent the image from being processed. Later you can attach it manually and use the "Optimize" option to reduce the size.
- Although large TIFF and BMP images will be converted to JPEG format, we recommend that excessively large JPEG files (over 10 megabytes) be opened in an image editor and resampled or resized to a smaller resolution then resaved. See the full discussions of formats under "Working with Scanned Images."
- Final confirmation of setup: In order to continue after reviewing your images, you will need to 1) select whether you want to move the images or copy them (choose "Move" unless you need to keep the originals for other purposes) and 2) confirm that you are finished reviewing by selecting the "Review of image selections is complete" checkbox. This will enable the Next button. Clicking Next will produce the final processing screen:
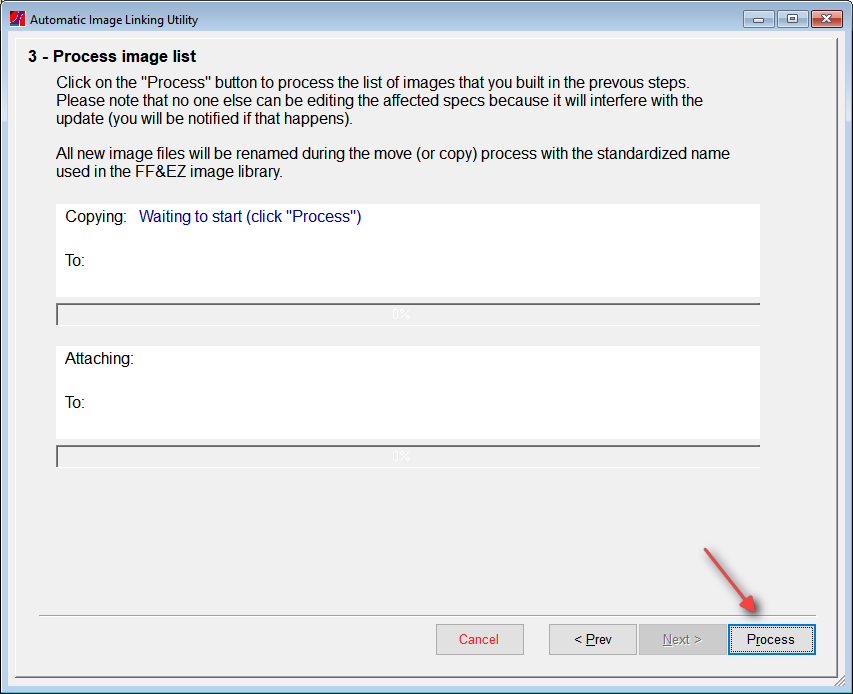
- Finally, you simply click on the Process button (red arrow above) to start the process of attaching the images to each matching spec. The process will normally only take a few moments, unless image files are being copied or moved across a remote connection. When it completes, the spec screen will display images for each matched spec.
NOTE: Since the utility creates standardized file names to organize the FF&EZ image library and allow image sharing among all projects, it will skip specifications that use the "TBD" vendor or those with blank "Catalog/Model #" entries. It does give you feedback about which specs were not processed. To process these with Auto-image, simply add the product's Catalog # entry (or a key word or phrase as shown below) and run the utility again. You can also attach these images manually by editing the specification and using the Select button in the normal way.
Key Words / Key Phrases for products with no "Catalog/Model #"
Although the image library is designed to contain images with file names that refer to the manufacturer and the unique model number of that product, there are many exceptions that prevent you from having a model number. One is the use of custom fabrications based on shop drawings (although a shop drawing may actually have a suitable reference number). In order to handle this, you can use special "key" words or phrases in the Catalog/Model # field instead of leaving it blank. See "Specification Catalog/Model #: Key Words / Key Phrases"
|

